Introduction
There are several processes which fall under the Technicolor umbrella. However, when the topic usually comes up, most people are thinking of the three-strip process regarding the “Technicolor look”. As with film emulation in general, this look is becoming more and more en vogue. Some approaches have been circulating online as PowerGrades for ages, some more recently released DCTLs/plug-ins are pretty respectable in their imitation of dye behaviour. And, of course, we also get our influx of the usual vibe-coded tools that do something to an image. While some of them might get close, palette-wise, all of them are missing the one crucial part that makes the process distinct from more modern film processes.
In other words: the distinct feel of Technicolor three-strip is not solely in its dyes. It’s largely in its mechanics. Since the dyes of the Technicolor print were literally printed onto the film via matrices, the process naturally resulted in a physically present spatial distribution of those dyes. Logically, the missing link to convincingly recreate the characteristics of a three-strip process in a digital pipeline is a spatially driven adjustment.
This is certainly not my idea, though. Flemming Sorvin described what appears to be almost exactly the method Rob Legato et al. built for The Aviator in After Effects back in 2004. I took Sorvin’s reverse-engineered Aviator method, transported it to Resolve, and added a few things to make it more complete.
Also, this only works in Rec.709, so it has to be placed after your output transform, which ideally is neutral. I know, we all fancy non-neutral image formation nowadays, but for this approach you simply have to forget your scepticism. That being said, it should work with any DRT (yay!) and I personally tested it with OpenDRT and JP2499. It just won’t be that clean and the second part becomes quite redundant.
So? What are we going to build now?
Enough rambling. Here’s the substance: a complete Technicolor three-strip look that relies solely on the built-in functions of DaVinci Resolve. It’s based mainly on Splitter/Combiner nodes, and it differentiates the three key aspects of the look: the actual three-strip process, the CMY characteristics, and some of the technical imperfections the process brings with it.
Now hang in there, listen to Charles de Goal, and start up Resolve, as we are finally building that three-strip node tree that will (almost) look like the real thing.
Baseline
It can’t be stressed enough: a lot of the Technicolor look is in the set, lighting and make-up. Not everything, though, and certainly not the process from strip to print itself. The emulation won’t stand or fall with the right decisions on set, but they sure as hell will elevate your results. Hence, for this demonstration, I opted for stills that somehow match the vibe by hitting at least some of the key elements in lighting and composition. Having to work display-referred comes with a benefit: finding stock footage is way easier. This gentleman here will be our three-strip stand-in. All stills in this article are from Pexels, by the way.

3-Strip
First, we set an empty node and label it NULL. Thank me later for that. From NULL, we go to a Splitter/Combiner and put another NULL at the end.

Now we establish another node structure, branching three times from NULL again: one branch each for R, G and B. We label them R Key, G Key and B Key. As Sorvin describes, we now set a key for pure red, green and blue on the respective key nodes. I wouldn’t use the Qualifier here, because it's a pain to set up cleanly, if not borderline impossible. I also find that the 3D Keyer, in HSL or HSP, gives the most convincing result. So we set a 3D Keyer to HSP/Soft for each channel, key out the maximum RGB values, 255 respectively, and hit Invert on all three.

Now we take the alpha output from every key to another node and label them R Matte, G Matte and B Matte. Here comes the crucial part: we set up a Layer Mixer for each channel and combine the complementaries via Multiply. This establishes our C, M and Y matrices. So we label the nodes C Matte, M Matte and Y Matte.

Those CMY mattes resemble the complementary matrix reliefs used in the printing process and will spatially distribute purity in our image. Now we disconnect the Combiner from the initial RGB nodes and recombine them with their respective complementary matrices via a Layer Mixer set to Multiply. This will form our final R Print, G Print and B Print nodes.

If we A/B them with the initial RGB channels, we can notice a distinct difference in the distribution of values, which will lead to the pure “printy” feel of original Technicolor and the saturated skin tones, which will of course be amplified by the right (which means super-thick) make-up and lighting technique.

R

R Print

G

G Print

B

B Print
Let’s put the print channels into the Combiner and see for ourselves:

This already looks promising and is apparently exactly the Aviator method. But we are not done yet. Let’s have a look at the final node tree again.

Now we select this node-window-covering mess from the first to the last NULL, make a compound node, and call it 3Strip.
CMY
The 3Strip node structure gives us the spatial effect. Only our palette is a little bit too punchy, because we are still in a light-based RGB environment. Hence, after the compound node, we place a CMY dye imitation. This is also where your three-strip or CMY DCTLs may nail it. So they might be a perfect fit here. Since this is meant to be the easiest native Resolve approach, I strictly follow the KISS principle and take advantage of the simplest (or stupidest) method hiding in plain sight.
Technicolor dyes were, in essence, the same kind of cyan, magenta and yellow printing dyes we still use today. And if you have any experience with print, photography or graphic design, you are familiar with an already well-established RGB <> CMYK conversion. So, let’s pick the resulting RGB values from 100% M+Y, 100% C+Y and 100% C+M, and divide them by 255. These are the values we put into Resolve’s Channel Mixer.

The resulting matrix is a bit off for two reasons. First, Resolve is working in YRGB, so we need to uncheck Preserve Luminance. Otherwise it tries to keep the perceived brightness stable, which fights the effect. Second, the Channel Mixer is still a linear RGB matrix, while dye mixing is subtractive and non-linear. So we add another node with a slight hue rotation of 42 to bring the skin tones back onto the line. This isn't technically accurate, but it gets the job done and looks suspiciously convincing for a pretty blunt approximation.

Now let’s make another compound node and label it CMY.
Texture and Impurities
To round it off, we add texture and impurities inside our node structure. After the CMY node, you can add all sorts of textural adjustments, like glow, lens distortion and whatnot. It kind of depends on which decade of cinema you may want to emulate. I opted for a pretty clean, minimal approach. So we set a grain node at the end and adjust it to our liking.
The Technicolor printing process was physical, and therefore the three layers would never sit perfectly on top of each other. So we set a very small, almost imperceptible offset to one or two of the channels. To do this, we open our 3Strip compound node and place Transform effects on the R Print, G Print and B Print nodes. You can play around with the values. I find that a minuscule offset on the blue channel is enough.
With the textural adjustments in place, the three-strip look is now complete.

You can now pretty conveniently regulate the three-strip and CMY effects with the key output of both compound nodes. In fact, I like to tone down the CMY compound node to 0.500 in this case.

So there’s your Technicolor three-strip look. Now you have everything you need to build it. Make sure to save it as a PowerGrade, so you never have to build it again.
Technically, it’s also a one-strip look. Technicolor V used essentially the same dye-transfer print process as Technicolor IV, but fed from a single-strip colour negative instead of three-strip camera negatives. Anyway, here’s another set of stills of different situations, with varying degrees of the look:
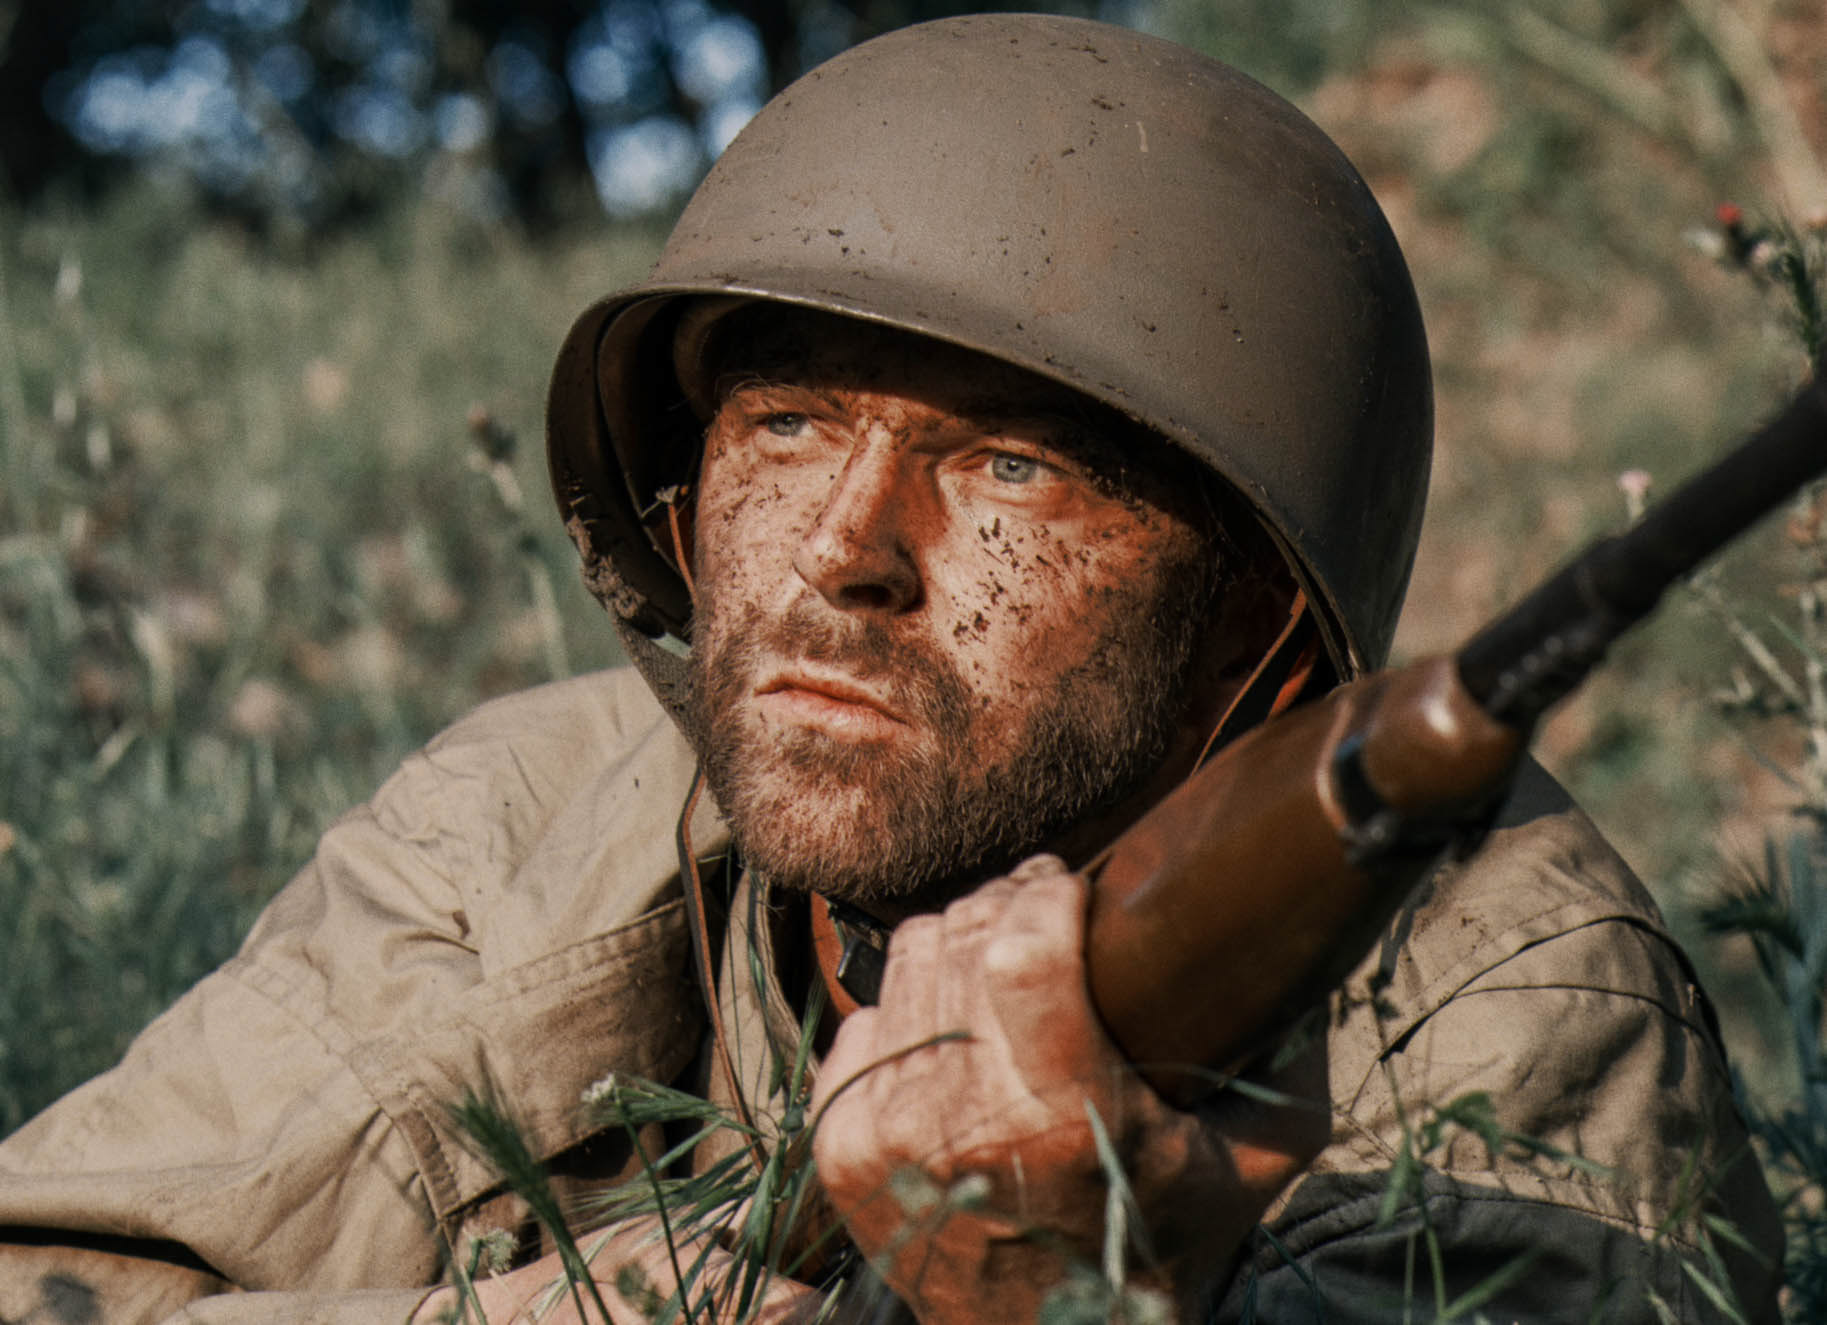


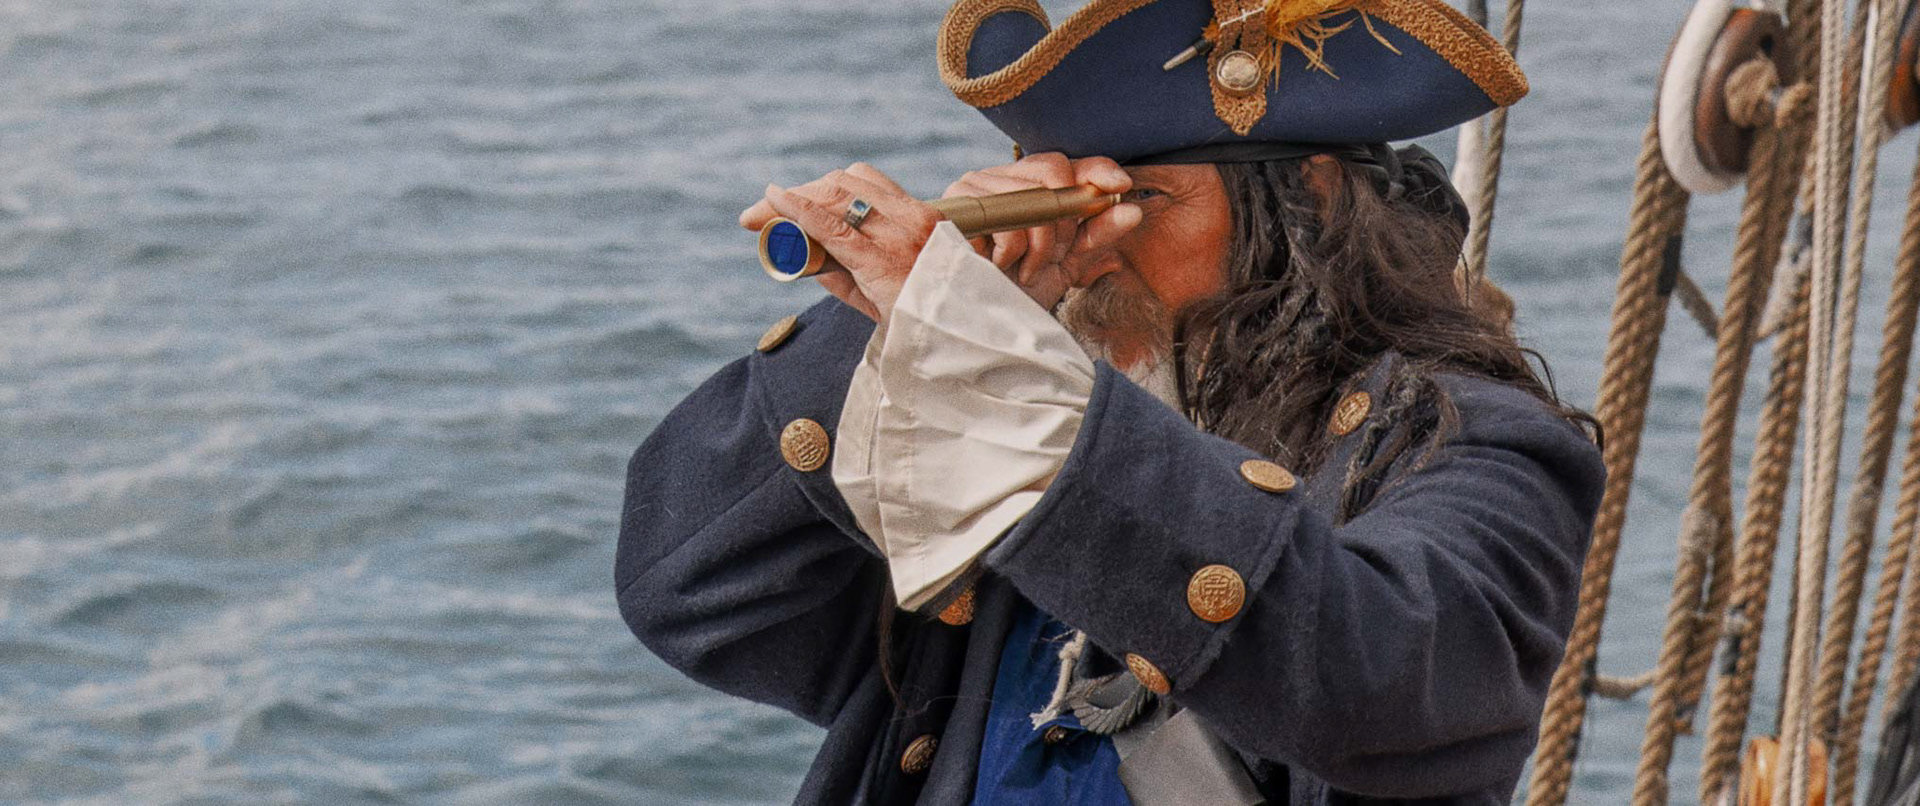
So, that pretty much sums it up. Although this isn’t all that has to be written about Technicolor. But that will be another part. Buckle up, it's going to be a rabbit hole.
Hang in there, enjoy your stay. Get some cheese and olives from the bar.
Best regards,
Florian
––––––––––––––––––––––––––––––––––
Revision History
08.10.2026 – minor changes in spelling and wording
